🔧 Website Development Process: A Step-by-Step Guide for 2026
Last Updated: June 19, 2026 | By Scenic IT Solutions Team
A website is not just a digital brochure — it is often the first impression a potential customer has of your
business. Done right, it generates leads, builds trust, and converts visitors into clients. Done wrong, it
drives people away.
But what exactly goes into building a website? Most business owners are surprised to learn that the
website development process involves far more than writing code. This guide walks you through
every phase — from the first conversation with your developer to months after your site goes live.
1. Overview of the Website Development Process
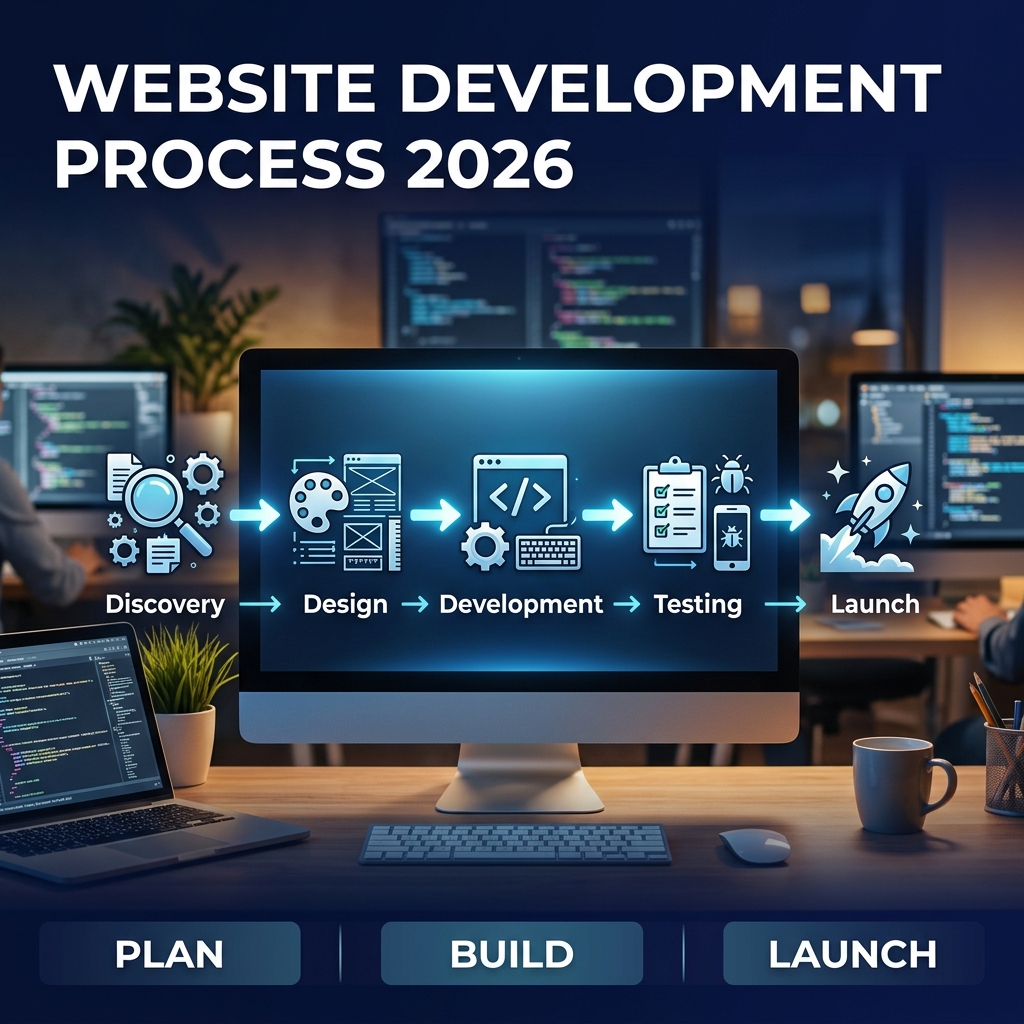
The website development process can be broken into seven key phases. Each phase builds on the previous one.
Skipping a phase does not save time — it creates problems that cost far more to fix later.
| # |
Phase |
Key Output |
| 1 |
Discovery & Planning |
Project brief, sitemap, feature list |
| 2 |
UI/UX Design |
Wireframes, mockups, prototype |
| 3 |
Content Creation |
Copywriting, images, videos |
| 4 |
Development |
Working frontend + backend code |
| 5 |
Testing & QA |
Bug-free, cross-browser, fast-loading site |
| 6 |
Launch |
Live website on production server |
| 7 |
Maintenance |
Ongoing updates, security, SEO tracking |
2. Phase 1: Discovery & Planning
This is the foundation of everything. A thorough discovery phase prevents 80% of the problems that derail web
projects. It is not glamorous, but it is critical.
What happens in discovery?
- Business goal alignment: What do you want this website to achieve?
Generate leads? Sell products? Recruit staff? Each goal shapes the design and features differently.
- Audience research: Who will visit this website? What do they need?
What problems are they trying to solve? Design decisions must be driven by user needs, not personal
preference.
- Competitor analysis: What are the best websites in your industry
doing well? What are they missing that you can do better?
- Sitemap creation: A sitemap defines every page on the website and
how they connect. It is the blueprint before any design work begins.
- Feature specification: What features does the website need?
Contact forms, live chat, e-commerce, booking systems, user accounts? Each feature is documented before
development begins.
- Tech stack decision: Which platform and technologies will be used
— WordPress, custom HTML/CSS, Laravel, Next.js? The answer depends on your goals, budget, and required
features.
Deliverable from this phase: A signed project brief, approved sitemap, and a detailed scope
of work that prevents scope creep and budget surprises.
3. Phase 2: UI/UX Design
Design is not just about making things look good. It is about making things work well for users. A beautiful
website that confuses visitors is a failed website.
The Design Steps
-
Wireframing: Low-fidelity sketches that define the layout and structure of each page. No
colour, no fonts — just structure. Approved by you before moving forward.
-
Visual Design (Mockups): Full-colour, high-fidelity designs showing exactly what the
website will look like. Typography, colour palette, imagery, spacing — all finalized here.
-
Interactive Prototype: A clickable version of the design (often built in Figma or Adobe XD)
that simulates user flows without any real code. Clients can "experience" the site before it is built.
-
Design approval: You review and approve the final designs. Changes here are inexpensive.
Changes during development are not.
Good UI/UX design considers mobile responsiveness from the start. In 2026, over 60% of web traffic comes from
mobile devices. Designing desktop-first is a mistake.
4. Phase 3: Content Creation
Content is what fills the beautiful design you just approved. Many website projects stall at this phase
because clients underestimate how much work content requires.
- Copywriting: Every page needs clear, persuasive, and SEO-optimized
text. Good copy explains what you do, who you serve, and why a visitor should choose you — in language your
audience understands.
- Imagery: Professional photography or high-quality stock images.
Avoid generic stock photos — they undermine trust. Custom photography increases credibility significantly.
- Video: Explainer videos, product demos, or team introductions.
Video increases time-on-page and conversion rates.
- SEO content strategy: Every page should target specific keywords.
Meta titles, descriptions, headings, and alt text must all be optimized from the start.
Tip: Provide content before development starts. Waiting until after the site is built causes
delays and forces developers to use placeholder content that often ends up published by mistake.
5. Phase 4: Frontend & Backend Development
This is where the website is actually built. Developers take the approved designs and content and turn them
into a functioning website.
Frontend Development
The frontend is everything users see and interact with. Developers convert the visual designs into HTML, CSS,
and JavaScript code. This includes:
- Responsive layouts that adapt to all screen sizes.
- Interactive elements — navigation menus, sliders, forms, animations.
- Performance optimization — image compression, lazy loading, CSS/JS minification.
- Accessibility compliance — keyboard navigation, ARIA labels, sufficient colour
contrast.
Backend Development
The backend powers the functionality behind the scenes. It handles:
- Database design and management — storing and retrieving content, users, orders,
etc.
- Server-side logic — business rules, authentication, data processing.
- API integrations — connecting to payment gateways, CRM systems, email platforms,
etc.
- Admin panel — a backend interface where you can manage content without touching
code.
6. Phase 5: Quality Assurance & Testing
No website ships without testing. A professional QA process catches problems before your customers do.
- Cross-browser testing: Verify the site looks and works correctly
in Chrome, Firefox, Safari, and Edge.
- Cross-device testing: Test on phones (iOS and Android), tablets,
laptops, and desktops.
- Functional testing: Every form, button, link, and feature is
tested to ensure it works as expected.
- Performance testing: Page speed is measured using Google PageSpeed
Insights and Lighthouse. Target: LCP under 2.5 seconds.
- Security testing: Check for common vulnerabilities — SQL
injection, XSS, insecure form submissions.
- SEO check: Verify all meta titles, descriptions, canonical tags,
sitemap, robots.txt, and schema markup are correctly implemented.
7. Phase 6: Launch
Launch day is exciting — but it requires careful execution. A poorly planned launch can cause downtime or data
loss. Here is the professional launch checklist:
- ✅ Final backup of old website taken.
- ✅ Domain DNS updated and propagation confirmed.
- ✅ SSL certificate (HTTPS) installed and verified.
- ✅ 301 redirects set up for any changed URLs.
- ✅ Google Analytics 4 and Google Search Console verified.
- ✅ XML sitemap submitted to Google Search Console and Bing Webmaster Tools.
- ✅ All forms tested in production environment.
- ✅ Page speed confirmed in production (hosting affects speed differently than dev
environments).
8. Phase 7: Post-Launch Maintenance
Launch is not the end of the project. A website needs ongoing care to stay secure, fast, and effective.
- Security updates: Plugins, CMS platforms, and server software must
be updated regularly. Unpatched systems are the most common cause of hacked websites.
- Performance monitoring: Track Core Web Vitals monthly. Search
ranking algorithms update frequently — a site that was fast in January may need tuning by June.
- Content updates: Fresh, accurate content signals relevance to both
users and search engines.
- Broken link audits: Run monthly. Broken links hurt SEO and user
experience.
- Analytics review: Monthly review of traffic, conversions, and
bounce rates. Use data to guide improvements.
- Backups: Daily automated backups with off-site storage. If
something goes wrong, you can restore within minutes.
9. Realistic Timelines and Costs
| Project Type |
Timeline |
Estimated Cost |
| Simple brochure website (5–10 pages) |
2–4 weeks |
$1,500 – $5,000 |
| Business website with CMS |
4–8 weeks |
$5,000 – $15,000 |
| E-commerce website |
8–16 weeks |
$10,000 – $50,000 |
| Custom web application |
3–9 months |
$20,000 – $150,000+ |
10. Tips for a Smooth Website Project
- Prepare content before kickoff: The single biggest cause of
project delays is waiting for content from the client. Start gathering copy, images, and assets early.
- Consolidate feedback: When reviewing designs or pages, gather all
stakeholder feedback and submit it in one consolidated round. Multiple rounds of fragmented feedback from
different people derail projects.
- Avoid scope creep: It is tempting to add features mid-project, but
each addition costs time and money. Document change requests formally and evaluate impact before approving.
- Trust the process: Professional web development teams follow a
process for a reason. Skipping phases or rushing to code without design approval always results in expensive
rework.
- Plan for SEO from day one: Do not build the site first and
optimize for SEO later. The two must be done together. URL structure, heading hierarchy, and page speed
affect rankings and cannot be easily fixed after launch.
11. Conclusion: A Great Website Takes a Great Process
A high-quality website does not happen by accident. It is the result of a disciplined, collaborative process
that balances business goals, user needs, and technical excellence. Understanding each phase puts you in
control as a client — you know what to expect, when to expect it, and what your responsibilities are.
Whether you are building your first business website or rebuilding an outdated one, the process described in
this guide is the proven path to a successful launch.
12. Frequently Asked Questions
How long does the website development process take?
A simple brochure website takes 2–4 weeks. A medium-complexity business website with custom design and
basic functionality takes 6–12 weeks. A complex web application or e-commerce platform can take 3–6 months
or more.
What are the main stages of website development?
The main stages are: Discovery and planning, UI/UX design, content creation, frontend and backend
development, quality assurance and testing, launch, and post-launch maintenance.
What information do I need to provide to a web development agency?
You should provide your business goals, target audience, examples of websites you like, your brand
guidelines (logo, colors, fonts), required features and pages, budget, and timeline expectations.
Why is website planning so important?
Poor planning is the number one reason website projects fail, go over budget, or miss deadlines. A solid
discovery and planning phase ensures everyone agrees on scope, structure, and success criteria before a
single pixel is designed.
What happens after a website is launched?
After launch, the website needs ongoing maintenance: security updates, performance monitoring, content
updates, SEO tracking, and feature improvements based on user analytics. Most businesses work with their
agency on a retainer for post-launch support.
Need a Professional Website Built the Right Way?
At Scenic IT Solutions, we follow a rigorous, proven process to build websites that perform — for
users and search engines alike. From discovery to post-launch, we are with you every step of the way.
See our web development services
or get a free project consultation today.